Register an authenticator to account
This section describes how to assign and register authenticators to Windows accounts.
When registering a FIDO2-compliant authenticator, the authenticator must be configured with a PIN. (Forced to set PIN at registration.)
Even if the administrator sets the PIN on behalf of the end user, be sure to have the end user reset the PIN to ensure security.
Operation Procedure
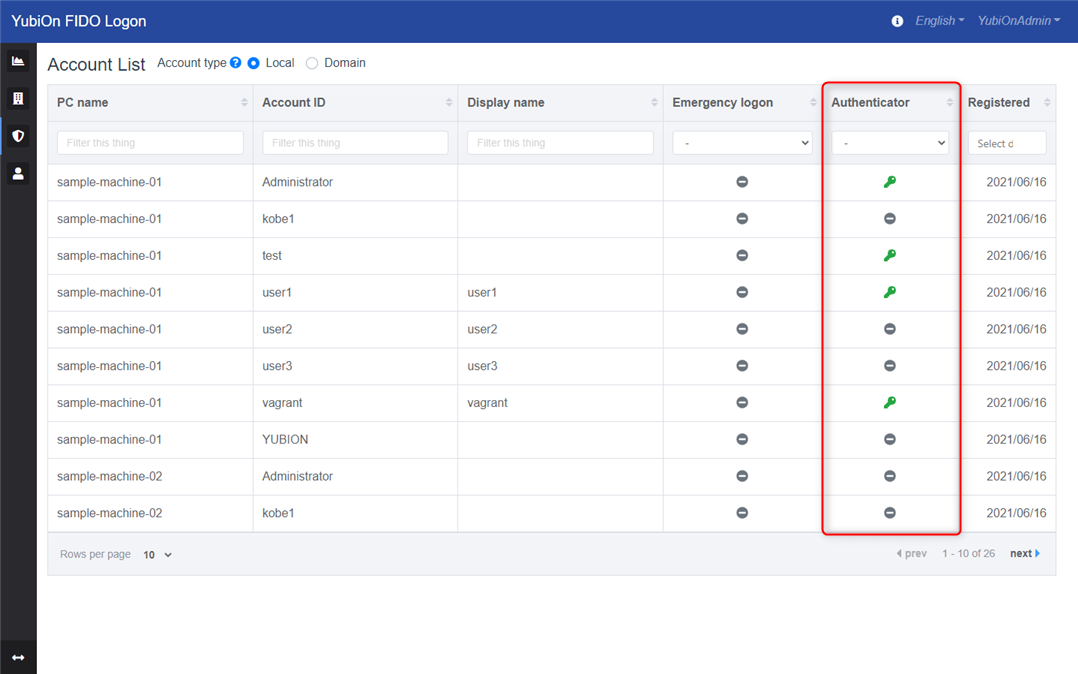
Select Authentication Services > Account from the menu.
- Find the account you want to register the authenticator to in the account list.
-
For local accounts
Select “Local” for the account type. -
For domain accounts
Select “Domain” for the account type.
-
Click the credentials icon in the target account line to open the credentials list modal.
-
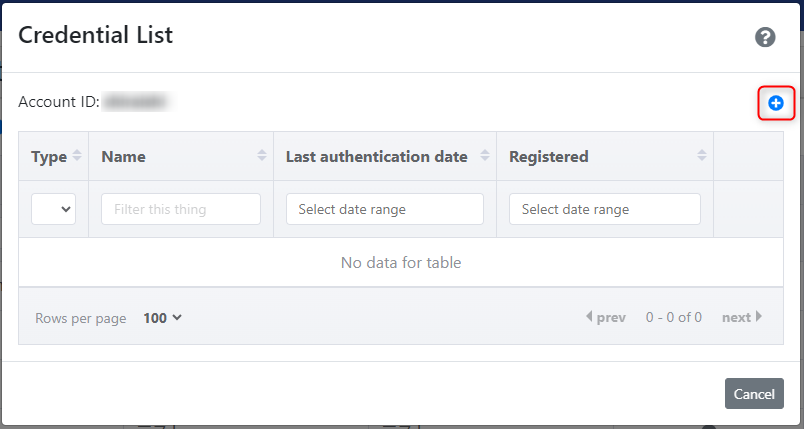
Click the Add icon at the top right of the list of credentials.
-
Click “OK” on the confirmation message.
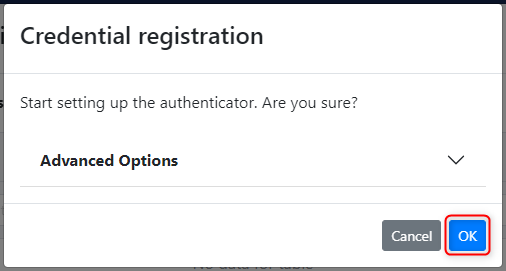
For more information on “Advanced Options,” please see the following page.
Use advanced options when registering authenticator -
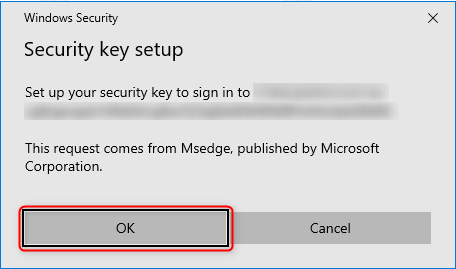
Click “OK” on the security key setup message.
The message displayed depends on the browser you are using.
*The following is for Chrome.
If you wish to register your smartphone as an authenticator, please see the following page for instructions.
Use authentication by smartphone from the web -
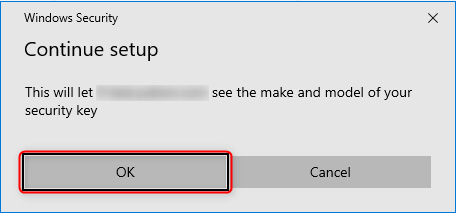
Click “OK” to continue with the setup.
-
Connect the authenticator to be registered to the USB port.
-
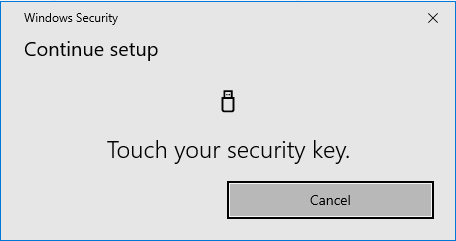
Operate the authenticator.
The operation differs depending on the type of authenticator you are using.
*The following is for authenticators that have a PIN set.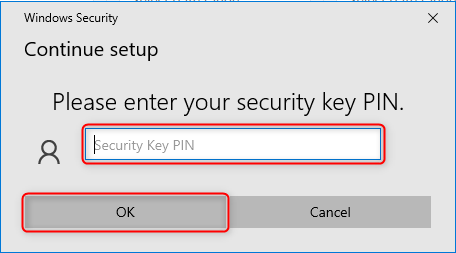
-
If the registration is successful, click “OK” on the confirmation message.
-
The input field for the name change will appear.
The name obtained from the authenticator is entered by default. Enter a name of your choice if necessary, and then click the Update button.
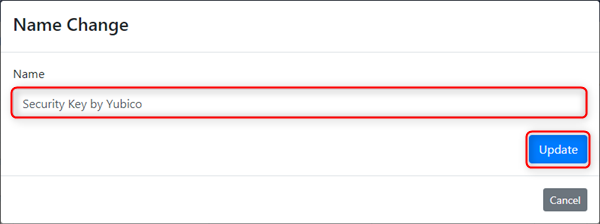
The name set here is an arbitrary name for the account and authenticator assignment.
-
Click “OK” on the confirmation message.
-
When the message “Registration complete” is displayed, click “OK”.
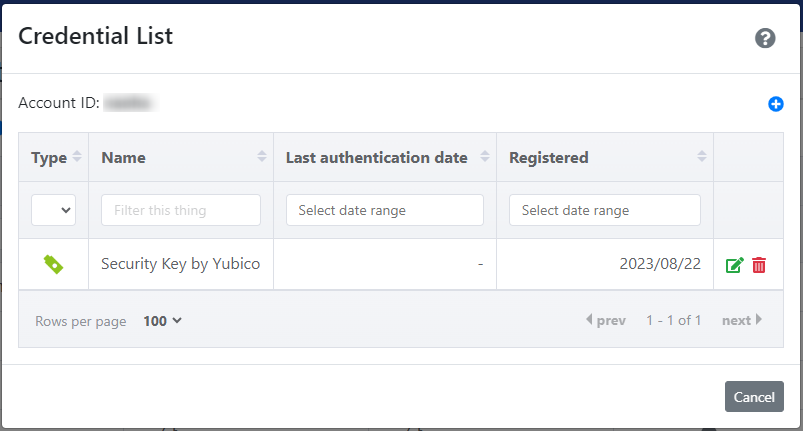
Confirm that the name of the registered authenticator is displayed in the list.