Enable or Disable PC lockout
This section describes how to set and cancel the “PC lockout” (a state in which the user cannot logon) for the selected PC.
Use this setting when you do not want anyone to logon to the target PC due to theft, loss, or other problems.
Enable PC lockout
Set the selected PC to “PC lockout” (a state in which the user cannot logon).
The manually set PC lockout state will continue until the next time it is manually unlocked.
It will not be automatically unlocked by the automatic unlock setting in Group Policy.
Operation Procedure
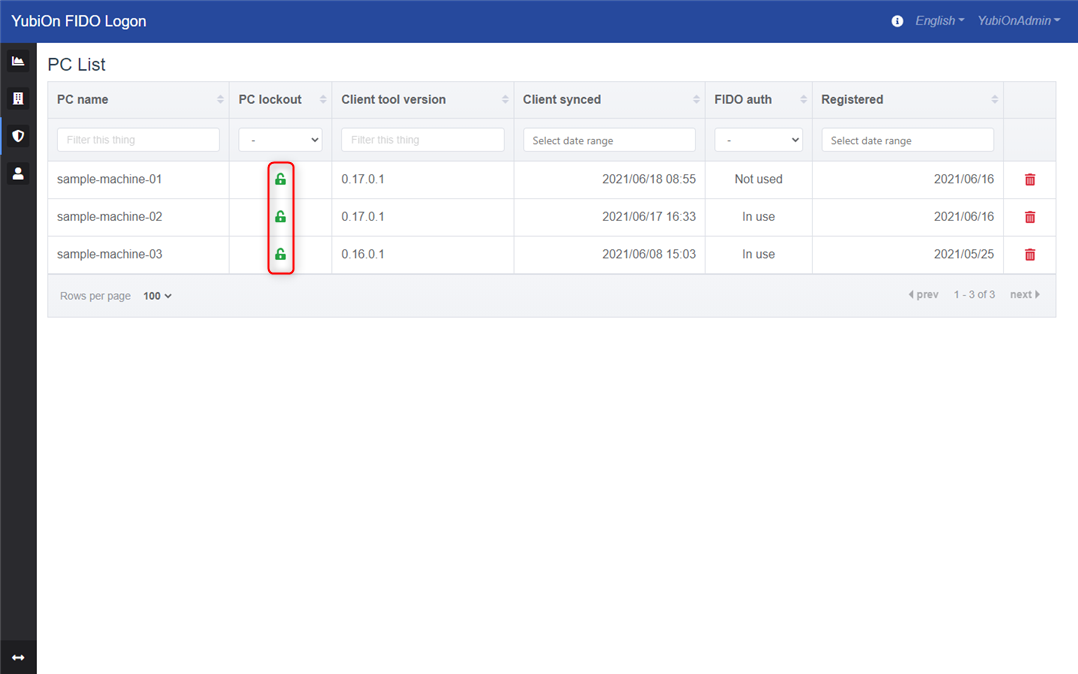
Select Authentication Service > Terminal from the menu.
- Find the PC you want to set PC lockout for in the PC list.
- Click the PC lockout icon of the target PC line you want to configure.
- Click the “Lockout” button in the PC Lockout Settings modal.
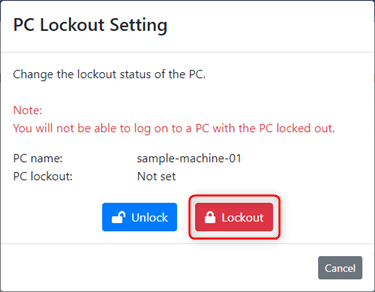
- Click “OK” on the confirmation message.
- Click “OK” when you see the message that the update is complete.
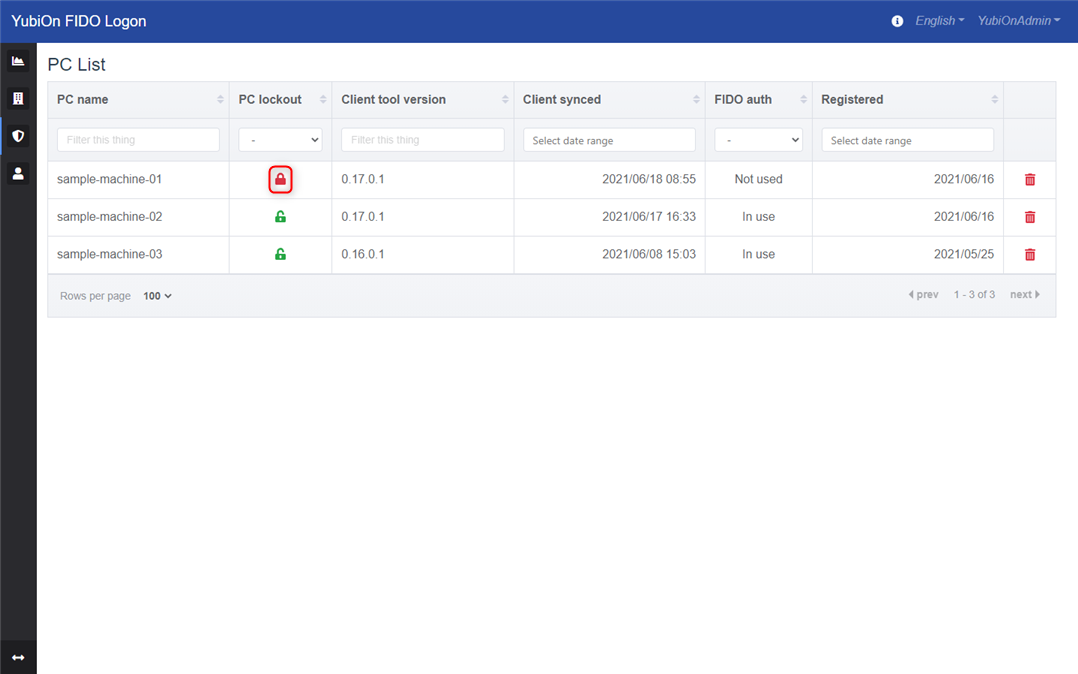
Confirm that the PC lockout icon is displayed in the “PC lockout” field of the target PC line.
Disable PC lockout
This section describes how to remove the PC lockout status of the selected PC.
Operation Procedure
Select Authentication Service > Terminal from the menu.
- Locate the PC you want to unlock from the PC list; a PC in PC lockout status will have a PC lockout status icon displayed in the “PC Lockout” section.
- Click the PC lockout icon on the target PC row.
- P Click the “Unlock” button in the lockout settings modal.
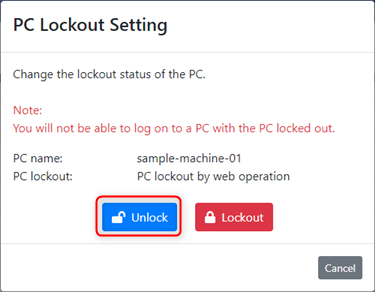
- Click “OK” on the confirmation message.
- Click “OK” when you see the message that the update is complete.
Make sure that the PC lockout icon is not displayed in the “PC Lockout” field of the target PC line.