Operational Tips
YubiOn FIDO Logon has multiple methods and settings for implementation, and how to choose one depends on the customer’s objectives.
In this chapter, we will describe the specific settings and operation methods that can be selected for various purposes as hints for customers considering the operation of YubiOn FIDO Logon.
Table of Contents
Batch software installation
In order to use YubiOn FIDO Logon, client software must be installed on a PC.
The basic procedure is for end users to download the installer and install the software themselves.
However, customers who wish to minimize end-user operations as much as possible may wish to perform these operations on the administrator’s side.
This applies mainly to customers who are using the system within a large organization.
How to use software distribution functions such as AD
If you are using AD’s software distribution function or software management tool, you can use its distribution function to perform batch installation on each PC by administrator’s operation.
Please refer to the following procedure.
See below for the activation procedure with registration code to be performed after installation.
If you have a separate PC kitting service
If you are using the method of batch software installation and copying the contents of that PC to multiple PCs as part of the PC kitting process, please do the following
Before copying
- Install FIDO Logon
After copying to multiple PCs
- Set registration code to FIDO Logon for activation
Registration codes can be set using a command line tool.
If you are using Active Directory or MDM, please consider setting up registration codes in bulk.
When the registration code is set up, the identification and other information of that PC is created and sent to the FIDO Logon server.
Therefore, the registration code must be set after it has been duplicated on each PC.
Points to note when performing batch installation
Even if you have performed a batch installation deployment, you will need to assign accounts and authenticators separately.
There are several methods for assigning accounts and authenticators, so please select the appropriate method according to your operational method.
How to assign an account and authenticator
-
When the end user is responsible for registering the authenticator
-
When the administrator registers the certifier
When the end user is responsible for registering the authenticator
If you want to let end users register their authenticators, you can do so in the following ways
(1) Force end users to register authenticators at first logon
This is a method of enforcing authenticator registration when an end user logs on at each computer.
Logon is not possible unless the authenticator is logged on, so the authenticator must be distributed in advance.Available in client version 3.1.0.1 or later.
This scenario forces all end users to have at least one authenticator assignment. Basically, please consider the availability of this scenario.procedure
- Distribute authenticators to end users in advance.
- Set the policy as follows
Limited sign-in options Enabled Logon to authenticator-less account Logon with password only the first time and enforce authenticator registration - End users enter their password when logging on for the first time to register and authenticate the authenticator.
- For the end user’s second and subsequent logons, the logon is performed using normal FIDO authentication.
(2) Allow logon with password until authenticator assignment
The end user registers the FIDO authenticator using a configuration tool.
Until the FIDO authenticator is registered, it is possible to log on with a password.
Since end users will continue to be able to log on with their passwords until they are assigned an authenticator, it will be necessary for operations to explain in advance how to use the configuration tool and to follow up with end users who do not register.This method is described for cases where, for example, prior distribution of certifiers will not be possible in time, or where not all end users plan to register their certifiers.
Please consider using method (2) before distributing the certifiers, and shifting to method (1) once the certifiers have been distributed.procedure
- Familiarize end users with the use of the configuration tool.
- Set the policy as follows
Limited sign-in options Enabled Logon to authenticator-less account Allow logon with password Credential management mode in the Setting tool Allow registration only (default) or Allow registration and deletion - End users log on using their Windows password until they register their authenticator.
- The end user registers the authenticator in the configuration tool.
- After configuring the authenticator with the configuration tool, the end user logs on using normal FIDO authentication.
(Windows password confirmation will be performed in conjunction with FIDO authentication for the first time only.) - The administrator will follow up with end users who have not registered.
Whether or not the end user has completed the authenticator registration can be checked on the account management screen.
After all end users have completed authenticator registration, logon to unregistered authenticator accounts can be prevented by setting “Logon to authenticator-less account” to “Deny logon” or “Logon with password only the first time and enforce authenticator registration” to prevent unintended account logon.
(3) Allow various Windows standard logons until authenticator assignment
This method is almost the same as (2), but it is possible to use various standard Windows logon methods.
Please consider this when it is necessary to provide various standard Windows logon methods, such as migration from an existing environment.
However, since various standard Windows logon methods can continue to be used after authenticator registration, it is recommended to disable the standard Windows logon methods for a certain period of time.procedure
- Familiarize end users with the use of the configuration tools and the various standard Windows logons.
- Set the policy as follows
Limited sign-in options Disabled Logon to authenticator-less account Any Credential management mode in the Setting tool Allow registration only (default) or Allow registration and deletion - Until the authenticator is registered, end users log on by selecting the standard Windows logon method using the “Sign-in options” on the logon screen.
- The end user registers the authenticator in the configuration tool.
- After setting up the authenticator in the configuration tool, end users can log on using FIDO authentication by selecting FIDO Logon in the “Sign In Option” section of the logon screen.
(Windows password confirmation will be performed in conjunction with FIDO authentication for the first time only.) - The administrator will follow up with users who have not registered.
- After confirming that all end users have registered their authenticators, change the policy as follows
Limited sign-in options Enabled Logon to authenticator-less account Deny logon Whether or not the end user has completed the authenticator registration can be checked on the account management screen.
When the administrator registers the certifier
This is a scenario in which an administrator pre-assigns authenticators on behalf of end users.
This scenario is recommended to be considered only when there are only a few target PCs, as it would place a heavy burden on the administrator if there are many target PCs.
For example, a combination of settings for existing PCs at the time of installation could be configured in a different scenario, while the few newly purchased PCs would be configured in this scenario.The administrator can assign authenticators on the account screen of the management web.
However, to do so, the target account information must be uploaded to the YubiOn FIDO Logon server.
Account information is uploaded automatically when a PC with the client software installed is connected to the network.
Account information is uploaded at the following times- When activated by registration code
- When the configuration tool is launched
- When a PC screen lock or restart is performed (FIDO Logon logon application is activated)
procedure
- Set the policy as follows
Limited sign-in options Enabled Logon to authenticator-less account Deny logon Credential management mode in the Setting tool Forbid registration and deletion - Assign the authenticator to the target account on the Account screen of the Management Web.
- Distribute the assigned authenticators to each end user.
Allow administrators to logon to all PCs
Administrators may want to be able to logon to all PCs used by end users in order to perform maintenance.
This section describes the solution for each customer’s environment.
For domain environment
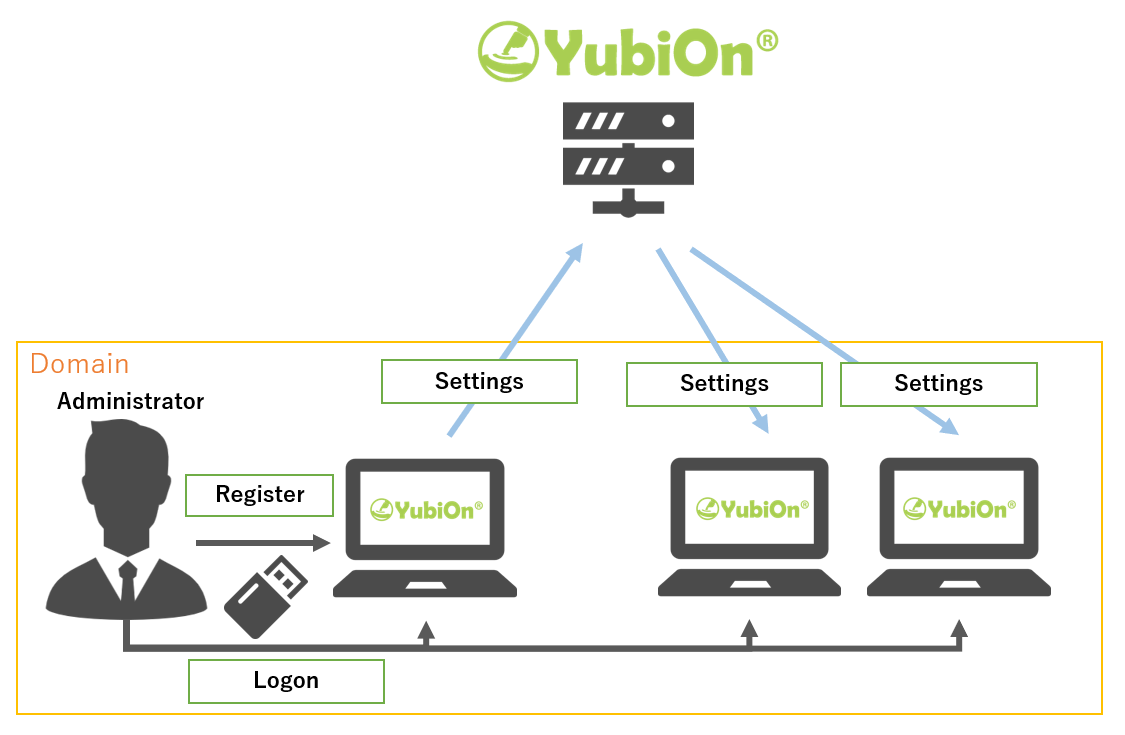
For domain environments, an administrator account for the domain can be used.
Because the authenticator assignment information for a domain account is common to all customers, when an authenticator is assigned to a domain account, the assignment is reflected on all PCs with software installed on them via the server.
Using this mechanism, a single authenticator assignment operation is all that is required to logon to all PCs with the domain administrator account.
Procedure
- Assign authenticators to the domain’s administrator account from the PC’s configuration tool or Management Web’s account screen.
- Register authenticators with the configuration tool
- Register authenticators for your account in Management Web
The authenticator assignment status of domain accounts can be checked from the Account Management screen.
For non-domain environments
With local accounts, each PC has a different account, so even if an authenticator is assigned to one PC, it will not be reflected on all PCs as is the case with domain accounts.
In order to be able to logon to all PCs, a local administrator account and authenticator must be assigned to every PC.
These settings require a new assignment operation each time a new PC is added, which places a heavy burden on the administrator.
An alternative method is to set the “Logon to authenticator-less account” setting to “Allow logon with password” and have the administrator log on with password only.
When this setting is enabled, an account that is not assigned an authenticator can logon with a password when logging on.
The administrator logs on with a password only, and the end-user account logs on with two-factor authentication by assigning an authenticator.
Note, however, that since this is not two-factor authentication, the security strength is reduced.
Procedure
- Open the Group Policy page of Management Web.
- Select the policy that includes the target PC and set the “Logon to authenticator-less account” setting to “Allow logon with password”.
Do not allow end users to add and remove security keys
Depending on your organization, you may want to control which authenticators your end-users use and not allow them to freely use the authenticators they have prepared themselves.
The following configuration allows the administrator to assign all authenticators and not allow end-users to add or remove authenticators.
Procedure
- In the Group Policy Settings of YubiOn FIDO Logon, change “Authentication Information Management Mode in Configuration Tool” and set it to “Prohibit Registration and Deletion”.
If this setting is made, you can prohibit the addition or deletion of authenticators from the PC’s configuration tool.
The administrator will also not be able to add authenticators from the configuration tool. If the administrator wishes to add or remove an authenticator, he or she must add or remove it from the Account Management screen of the Management Web page.
Please note that the administrator must have the authenticator in hand when adding an authenticator.
What to do if an end user loses his/her authenticator
If an end user loses his/her authenticator, the registration information must be deactivated immediately to prevent unauthorized use by a third party who has picked up the authenticator.
After deactivation, a new authenticator should be distributed to the end user and reconfigured.
Since the end user cannot logon to the PC until the new authenticator is set up, a temporary password logon is allowed.
Procedure
- Access the Account screen of Management Web and remove the authenticator assigned to the target account.
- Set “Emergency Logon” for the target account to temporarily allow password-only logon.
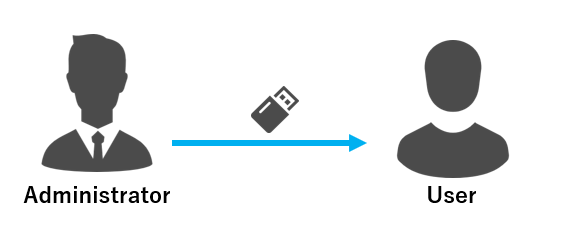
- Prepare a spare authenticator and send it to the end user.
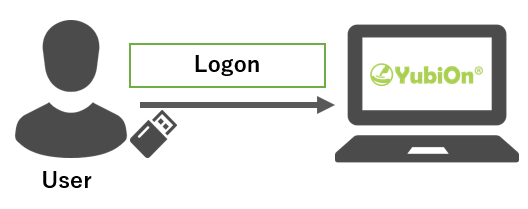
- The end user logs on to the PC with a password and uses the configuration tool to assign the newly arrived authenticator.
- Cancel the “Emergency Logon” setting.
Use of one shared PC by multiple people
When one PC is used by one end user, each PC is assigned an authenticator, but multiple users can logon to a shared PC.
For domain environment
-
For domain environments, an account for the domain is available.
If the authenticator assignment has been completed for the end user to logon
If an end user who logs on to a shared PC has already completed account and authenticator assignment on his/her own PC, he/she can logon to that shared terminal with a domain account without additional configuration.
This is because the authenticator assignment information for a domain account is the same for all customers, and once an authenticator is assigned to a domain account, the assignment is propagated to all PCs with the software installed through the server.If the authenticator assignment has not been completed for the end user to logon
If an end user logging on to a shared PC has not yet assigned an authenticator to his/her account, please follow the steps below to assign an authenticator.
Procedure- Assign authenticators to the domain’s administrator account from the PC’s configuration tool or Management Web’s account screen.
- Register authenticators with the configuration tool
- Register authenticators for your account in Management Web
The authenticator assignment status of domain accounts can be checked from the Account Management screen.
For non-domain environments
-
If the shared PC is not a member of a domain, the authenticator must be assigned to a local account on the shared PC.
Local accounts for shared PCs may be created for each end user who logs on, or a single account may be used for all users.If local accounts are different for each end user
This is a scenario where the end user logs on to the target local account with a password and assigns his or her own authenticator.
Procedure
- Distribute authenticators to end users in advance.
- On the Group Policy screen, select the policy to be used for the operation and set Logon to authenticator-less account.
- The end user logs on to the PC with a password and is assigned an authenticator.
- For “Allow logon with password”, assign an authenticator in the Configuration tool.
- For “Logon with password only the first time and enforce authenticator registration”, assign an authenticator on the Logon screen.
If the local account is common (one) for all end users
When local accounts are common, it becomes difficult for end users to assign their own authenticators using the “Allow logon with password” or “Logon with password only the first time and enforce authenticator registration” setting in “Logon to authenticator-less account”.
When those settings are made, if even one authenticator is assigned, the second user cannot log on after the first user has been assigned an authenticator because password-only authentication will not be available the next time.
In other words, all authenticator assignments must be completed when the first user logs on with a password.
Alternatively, the administrator should register the assignment of all authenticators from the Account screen of Management Web.
Loan out authenticators only when logging on to a shared PC.
Depending on the customer’s environment, there may be cases where a shared PC is prepared for specific tasks and the security of that PC needs to be strengthened.
In such a case, instead of each person having his/her own authenticator, the authenticator can be lent out only when the shared PC is used, and returned when the use is finished.
For example, the following is an example of such an operation.
- Loaning authenticators to users
- User logs on to a shared terminal using its authenticator
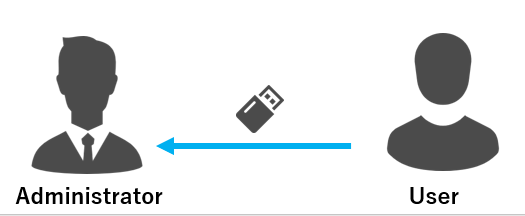
- Return authenticators after work is completed.
A PIN or biometric (fingerprint) is required to use the authenticator.
Biometric authenticators are not suitable for shared use because the number of biometric data that can be registered is limited.
Even when using a PIN-type authenticator, the PIN for that authenticator must be given to the user.
To maintain security, consider having the administrator change the PIN for each loan to a user.
Please note that if the PIN is not changed for each loan, the authenticator must be physically managed strictly to prevent unauthorized use.
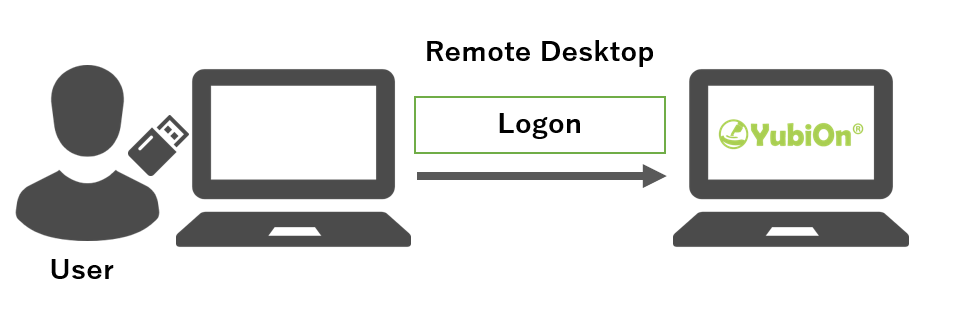
Remote desktop connection to a remote PC
[Ver. 3.0.0.1 or later]
FIDO authentication can also be used for logon when connecting to a remote PC via remote desktop connection.
This function is available with software version 3.0.0.1 or later.
The operation of entering ID and password when connecting to Remote Desktop is the same as usual, but FIDO authentication works on the logon window after connecting.
In addition, the display and operation differs depending on whether the source PC’s OS is Windows 10 or Windows 11.
For example, if you want to authenticate using a smartphone, the source PC must be Windows 11.
Please refer to the following for logon operation at remote desktop.
The PC to be remotely connected to must have software installed in advance.
The source PC does not require software installation.
The authenticator must be assigned on the PC to which you are connecting. Assignment can be done either by operating the PC directly or through a remote desktop connection.
Please note that when assigning authenticators via a remote desktop connection, some of the settings and operations in the configuration tool will be different compared to when directly operating the PC.
For details on registering authenticators on the PC to which the remote desktop connection is made, please refer to the following procedure.